Last Updated on October 15, 2022 by Griselda M.
We have long and cold winter days ahead of us. Learn all about growing Dipladenia indoors and save it for the next flowering season.
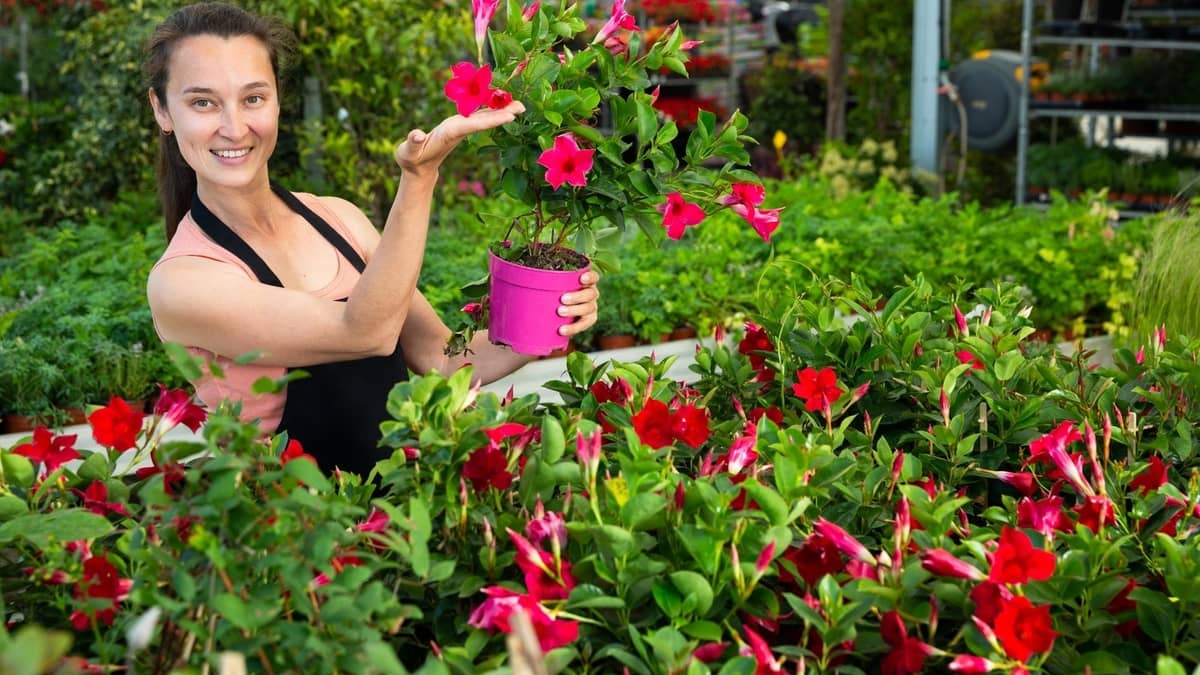
Dipladenia is an enchanting plant that originates from the South American tropical rainforests. Because of its flowers that bloom so abundantly, Dipladenia is an excellent plant for adding color to outdoor and indoor living spaces.
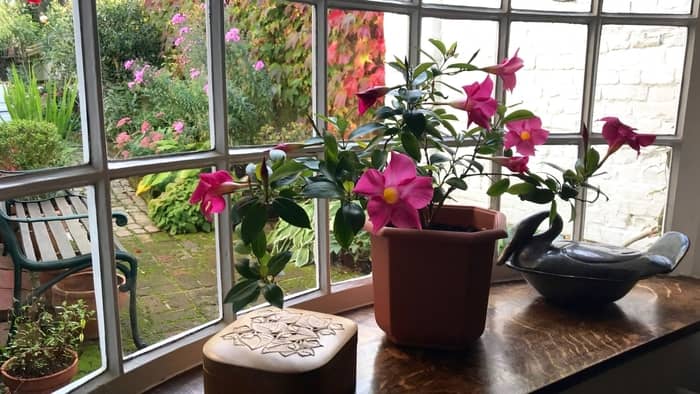
Since it has fans outside the warm tropics, Dipladenia can’t survive the winter in everyone’s garden, today we’re going to talk about growing Dipladenia indoors. Jump in and learn how to extend its season to an entire year!
General Characteristics
Dipladenia is a type of flower that belongs to the Apocynaceae family, the main group of Angiosperms (flowering plants). The root of its name is Greek and means diploos (double) + Aden (gland) and that is because its flowers contain two ovaries. Its second name, Mandeville, was named after Henry John Mandeville, the man who introduced the plant outside of South America in the early 1830s.
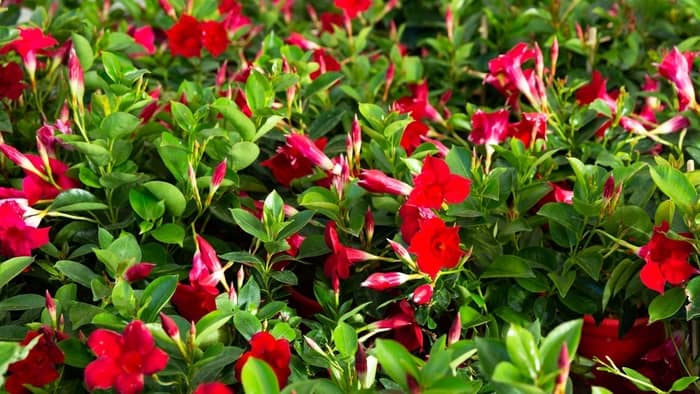
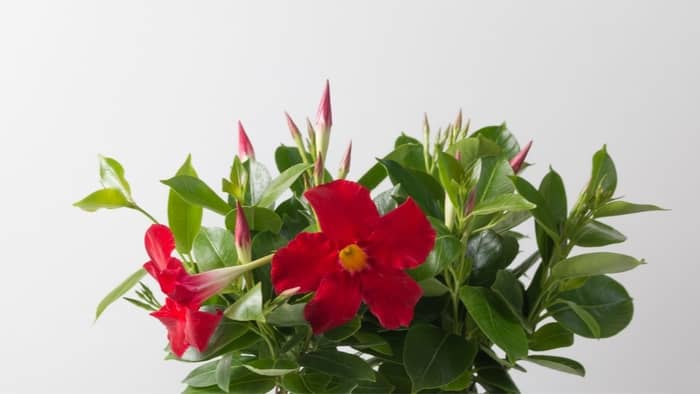
This tropical vine is recognizable by its green leaves and trumpet-shaped flowers. Depending on the variety, flower colors are various shades of red, white, pink, yellow, or apricot color. Did you know that this plant is a magnet for butterflies and hummingbirds?
Dipladenia plant thrives only in areas without frost, that is, in areas where temperatures don’t drop below 45 degrees Fahrenheit. This means it can only overwinter indoors if we want to save it for next year’s garden. Still, it’s possible to grow it outdoors as an annual, but only in places with warmer climates.
Steps For Growing Dipladenia Indoors
Whether you are growing your Dipladenia in the garden or a pot, there are basic recommendations for overwintering this plant. This time we will talk about hibernation within your living space.
Step 1: Bring the plant in from outside
When temperatures begin to drop below 60 degrees Fahrenheit, it is advisable to dig up your Dipladenia and plant it in a pot. You can dig it up with a shovel, but be careful not to damage the roots. To prevent damage, try first outlining the perimeter of the plant so you can calculate what the root will be like. This outline will also help you when choosing the ideal planting pot.
Step 2: Transplant the plant into a pot
Next in line is transferring your Dipladenia plant to the appropriate pot. After digging the plant shake off all excess soil, this will allow you to place it adequately in the pot. Once you put it in, you can add about an inch or two of quality soil to the bottom of the pot.
Step 3: Pruning of the Dipladenia
If you’re overwintering your Dipladenia indoors, pruning is the key to success. Pruning is best done with sharp and clean scissors. Keep the main upright stems and cut off the side and top shoots. Finally, leave about 2-3 leaves worth of stem on each shoot. From the buds located at the base of these leaves, you will later get new growth.
When pruning, you will notice a sticky sap that dries very quickly on the plant. This sap is quite toxic and can also leave irritating stains on your skin. If you have not used gloves, you can remove the sap with baby oil. Also, don’t forget to disinfect your pruning equipment and any spaces where the pruned branches were placed.
When growing Dipladenia indoors, remember that it will grow more slowly during the winter compared to warm summer days. So, be careful not to prune it too much as this can affect its further growth. Pruning to a height of 9 to 12 inches should be sufficient.
Step 4: Pests and diseases related to Dipladenia
Like all other plants, Dipladenia is susceptible to pests. Therefore try to do regular checkups.
If the leaves of the Dipladenia plant turn yellow, it means that they have been exposed to cold or lack of water. Protect your Dipladenia from drafts and try to spray water on the leaves regularly. If you notice sticky white spots on the leaves of Diplidenia, it means that an insect colony has appeared Also, remember that your plant is a favorite place for mites and ticks like the red spider.
You can naturally solve these problems without the use of harmful chemicals and various toxins. You can apply neem oil, wipe the plant with alcohol or rinse it quickly with lukewarm water. In case of a severe infection, consult a specialist to get advice on proper Dipladenia care.
Step 5: Watering
During the winter months, your plant will not need watering as often as it does on warmer days. As the plant grows more slowly, it also has less need for watering. So it can very easily happen that you water it too much. It would be best to water the plant more during warmer days as this will provide it with isolation from potential drought later.
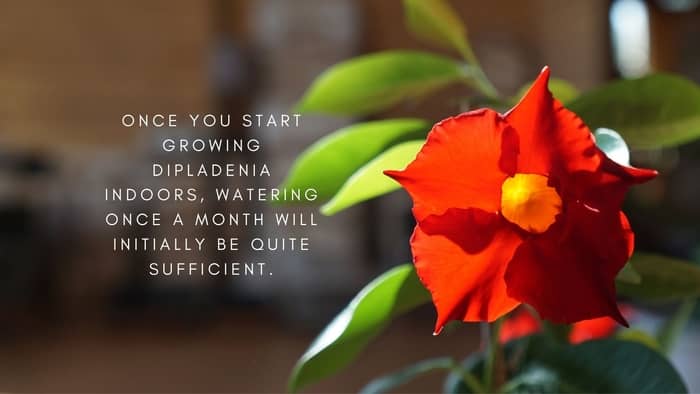
Once you start growing Dipladenia indoors, watering once a month will initially be quite sufficient.
Step 6: Soil & fertilization
The good thing is – the Dipladenia plant is not picky about the soil. It’s important to remember that it doesn’t like soil with high salt content and must have good drainage to prevent potential root rot.
As for fertilization, no additional fertilization is needed for cold winter days when kept indoors. If you do decide to do so, try to do it around mid to late February. This will give it an early start for new growth even before you take it outside to your garden/terrace for the next season.
You can use any multi-purpose fertilizer for houseplants. For example, an NPK of 20-20-20 will do its job well.
Step 7: Sunlight
Dipladenia plant prefers full sun but will get along fine if it’s sometimes partially shaded. It must have a minimum of 6 hours of direct sunlight per day. However, a warm indoor atmosphere and artificial light can also do the job for gloomy winter days.
In Conclusion
Dipladenia is one of those plants that we simply cannot get enough of. Growing Dipladenia indoors is suitable for everyone, from beginners to true connoisseurs. All this plant needs is a pot, a sunny spot, and occasional watering. – It’s that simple!
Before you go, take a look at more articles about plants that overwinter indoors.
Read more about Growing Rose Of Sharon Indoors and Growing Black Pepper Plants Indoors

