Last Updated on October 18, 2021 by Guillermina
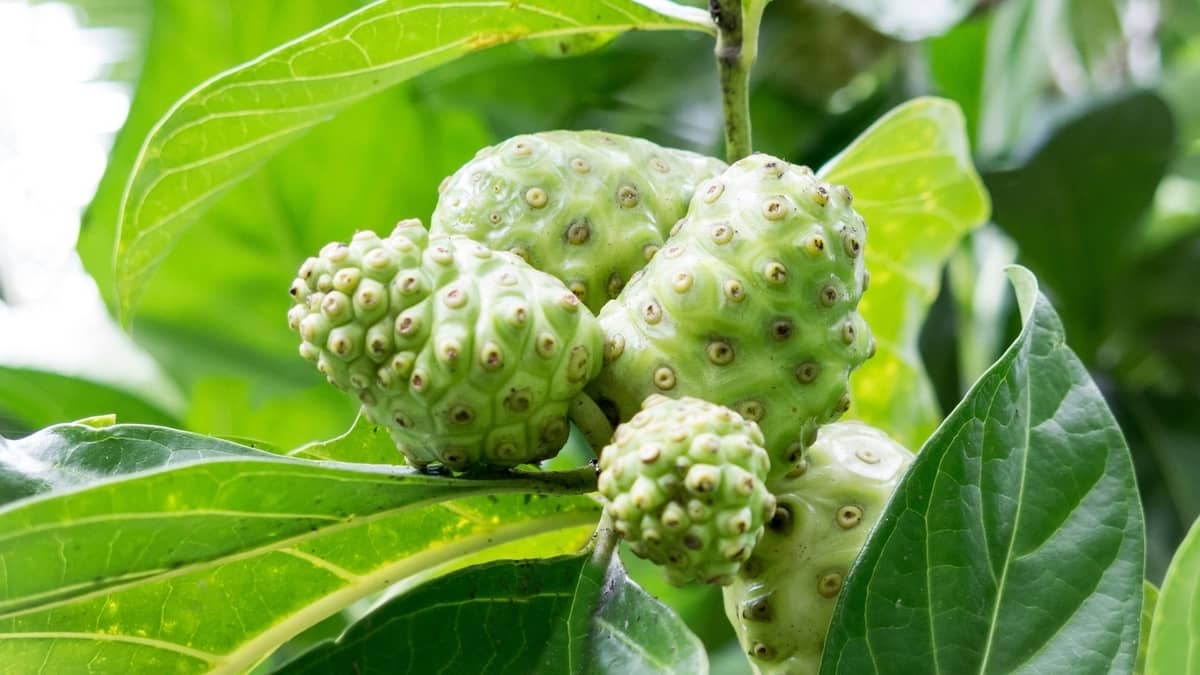
Growing cherimoya indoors can be a fun and exciting experience. These fruits are normally grown in Ecuador and Peru. They are shaped like a heart and usually weigh about ¼ to 1 ½ pound. They taste like banana, pineapple, and pear combine.
Cherimoya is trees. So there are normally grown outdoors. You can have a farm of cherimoya trees for business. These trees of the genus Annona are perennial evergreen but they become deciduous during cold weather. As these plants grow in the tropics, you would lucky to grow them in tropical countries and subtropical regions.
However, you can grow cherimoya seeds indoors. All you need is a large pot where you can grow them. The result is a small shrub that you can place in your garden. Of course, you can still grow some fruits and pick them whenever you need some.
Here are some steps you can follow to plant cherimoya indoors.
Step By Step Guide on Growing Cherimoya Indoors
Step 1
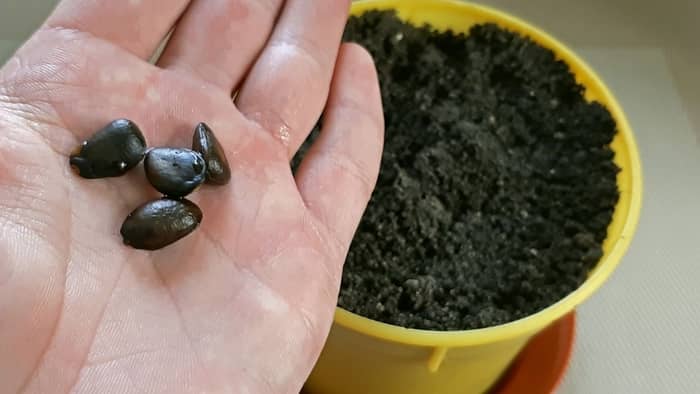
Fill half of the large bowl with water and place some seeds into it. Press all the seeds down and make sure they are all wet. Set the bowl aside and let them rest for four days.
Step 2
Look at the bowl of water. Scoop out any floating cherimoya seeds and discard them. When the seeds float, it means that they are not viable for growing. Then put the remaining seeds on the bottom of the bowl and set them on a paper towel.
Step 3
Get a clay pot and a potting mix. Fill one-half of it with coarse sand and the other with peat. Combine the soil.
Step 4
Place one cherimoya seed into the center of the pots and cover them with another soil. Add water to each pot to let the soil settle down. Then you can place them in a perfect spot.
Step 5
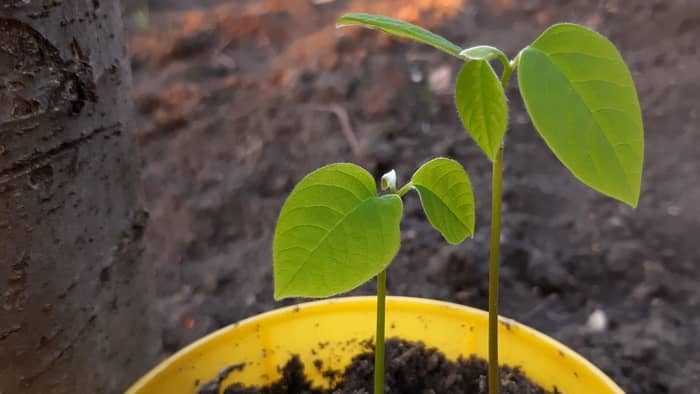
Water regularly but do not overwater. You don’t want your seeds to end up floating and soaking wet. In a couple of weeks, you should be able to see some sprouts.
Read more about Growing Campari Tomatoes Indoors
Reasons for Growing Cherimoya Indoors
Cherimoya plants are well-known for their natural health benefits. The flavonoids in these plants, for example, can help boost the immune system and reduce the risk of cancer.
Besides their tasty, they bring a lot of advantages to the other. Since they are rich in vitamin C, cherimoyas are a great addition to your indoor garden. One cherimoya contains 60% of your recommended daily intake.
Moreover, certain compounds in the cherimoya plant are said to help reduce inflammation in the body.
Things to Note When Growing Cherimoya Indoors
Harvesting Cherimoya
After following some guidelines about growing cherimoya indoors, you should be able to grow some wonderful and delicious fruits. The following are some tips on harvesting.
- Harvest when ripe. Just feel the fruit and if gives to thumb pressure, the fruit is already okay to harvest. Don’t wait until it becomes brown. Brown means being overripe.
- Refrigerate the fruit if there are leftovers from eating.
- If you’ve picked it before ripening, you can keep it at room temperature. It will ripen after a couple of days.
Propagating Cherimoya Plant
You propagate cherimoya from seed is the best way to propagate. You can keep the seeds for three years and they’re still viable, so long as you keep them dry. Cherimoya forms a taproot.
Cherimoya Care, Nutrients, and Water
Keep the soil uniformly wet yet not wet; cherimoyas are powerless to establish decay in wet soil. Try not to water cherimoya trees when they are lethargic.
- Cherimoya will drop leaves if the roots go dry during the developing season. If leaves drop, natural products can endure burns from the sun.
- Feed cherimoya with a fair natural fertilizer, for example, 10-10-10 or less. Feed trees like clockwork from midwinter to collect.
Preparing and Pruning Cherimoya
- Train cherimoyas to two framework branches at two feet over the ground. Prune youthful platforms back to around two feet. From the laterals, save the most grounded shoots developing at 60 to 90 degrees and eliminate the others.
- Every year when new development begins, prune to keep the following harvest inside simple reach; eliminate 66% of the previous year’s development passing on six to seven buds on each stem.
- Every year eliminate broken, ailing, or crossing branches.
- Prune cherimoyas when they are lethargic.
Pest Control
- Yellow leaves are signs of overwatering or underwatering. When the weather is too cold, your plant can also turn yellow. When this happens, you really need to check what the problem is. During winter, you need to keep your cherimoya plant in a great spot when the temperature is fair.
- If some leaves have turned yellow or brown. Check the soil. If it is bone dry, you have to water it. If the soil has too much water, you will have to expose your plant to the sun in the morning. However, you need to take it back indoors when the sun is too hot already, especially at the noon.
- Look for some mealy bugs. If there are mealybugs, you can wash the leaves with soap and water. You don’t want to apply pesticides because it will affect the quality of the fruit.
- Snails can be attracted to this plant as well. Look for some signs of a snail. You can apply copper tape or apply Tanglefoot sticky glue around the soil. This will make the snails stick so they cannot climb up the leaves.
You also need to be aware of crown rotting. This happens when the soil is too wet or when the weather is too cold. Cherimoyas are also prone to verticillium fungal disease, which can cause leaves to die back.
To treat it, you need to remove the dead leaves and foliage. Place them in the trash and be careful that you will not touch them with other plants.
There you go. We hope these guidelines on growing cherimoya indoors have been useful to you. Keep this guide in handy whenever you feel like creating your mini garden indoors.
In any case, feel free to share this information to a friend who needs help with growing thyme indoors.
Read more about Growing Bay Laurel Indoors